Digilocker User Journey
To utilize the Digilocker APIs, a Request ID is essential. Here's how to obtain and activate it through the Create URL API and Digilocker:
1. Obtain the URL and Request ID: Start by executing the Create URL API. It will provide you with both a URL (which redirects to the Digilocker iframe) and a Request ID.
2. Authorizing the Request ID: Before the Request ID can be used, your end customer must authorize their Digilocker account through the provided Digilocker iframe.
3. Opening the URL: Re-direct your end customer to the provided URL which is the Digilocker authentication page opened in the Digilocker iframe.
4. Enter Aadhaar Number: Once on the page, your end customer will input his/her Aadhaar Number and proceed by clicking on "Next."
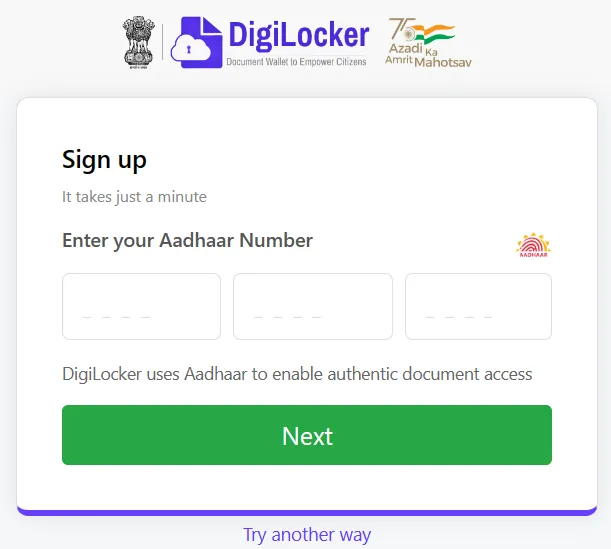
5. OTP Verification: An OTP (One-Time Password) will be sent to your end customer’s mobile number linked with their Aadhaar number. They must input the OTP to verify their identity and click on "Submit."
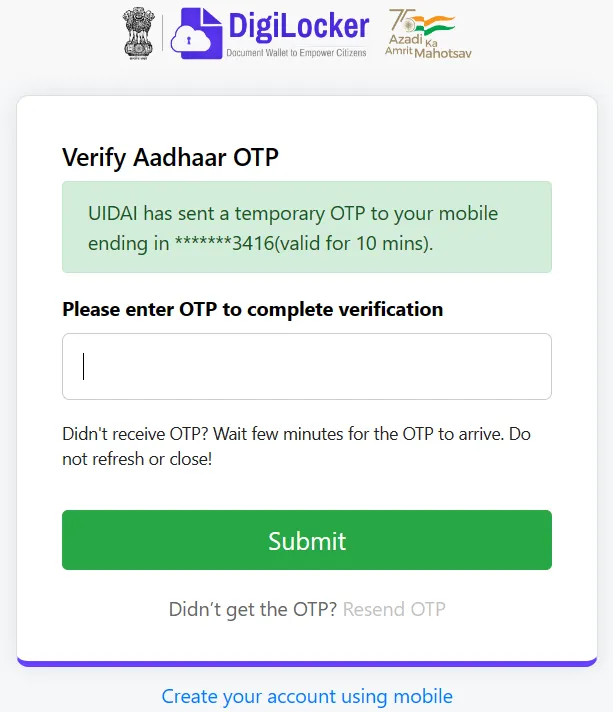
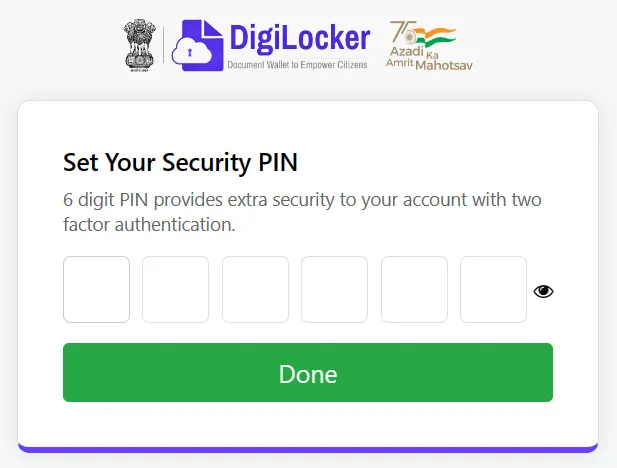
6. Create a Digilocker Account: If your end customer doesn't already have a Digilocker account, he/she will be prompted to create one. During this step, they will need to set a six-digit security PIN to secure their Digilocker account and click on “Continue.” If they already have an account, this step will be skipped.
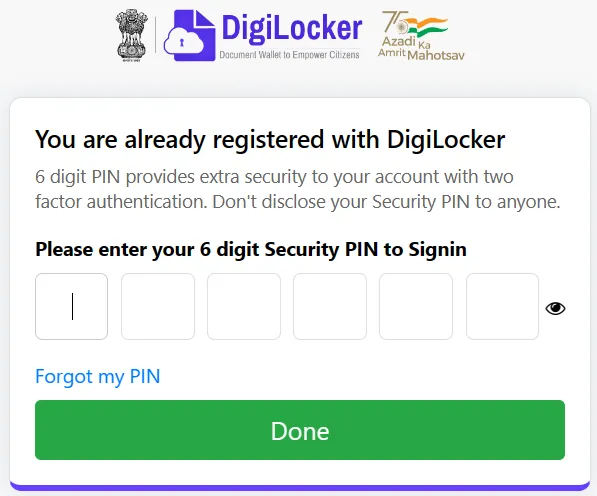
7. Enter six-digit PIN: Your end customer will be required to enter the six-digit PIN that they set during their Digilocker account creation and click on “Done”. WE also can allow pinless authentication, reducing a step to be perfomed by customers in providing their consent.
8. Provide Consent for Document Sharing: Digilocker will seek your end customer’s permission to share certain documents with Signzy. Within the "Issued Documents" section, they will see the list of documents (Aadhaar, PAN, and Driving License). The documents that will be shown to the end customer for obtaining consent can be customized and we will elaborate on it in the Create URL API section. They must choose the documents they're comfortable sharing by selecting them. (By default Aadhaar Card and PAN Verification Record is selected).
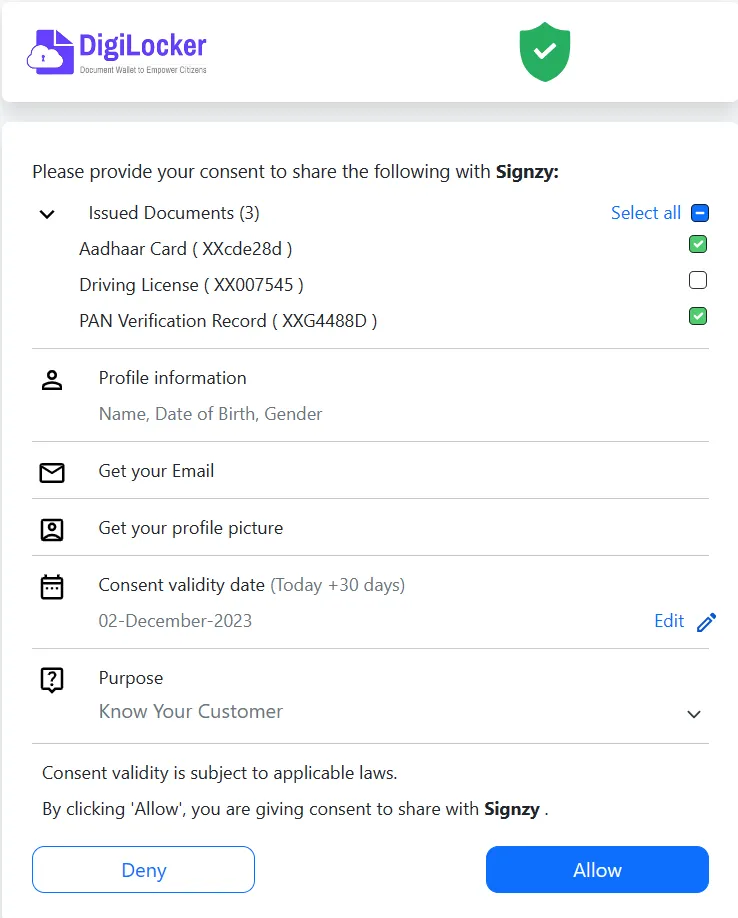
9. Set Consent Validity Date and Purpose: Optionally, your end customer can specify a date until which their document-sharing consent will remain valid. If they don't make a selection, the default validity will be set to 1 month. They can also define the Purpose for which they are granting this consent.
10. Authorize Sharing: Once your end customer has made their selections, click on "Allow."
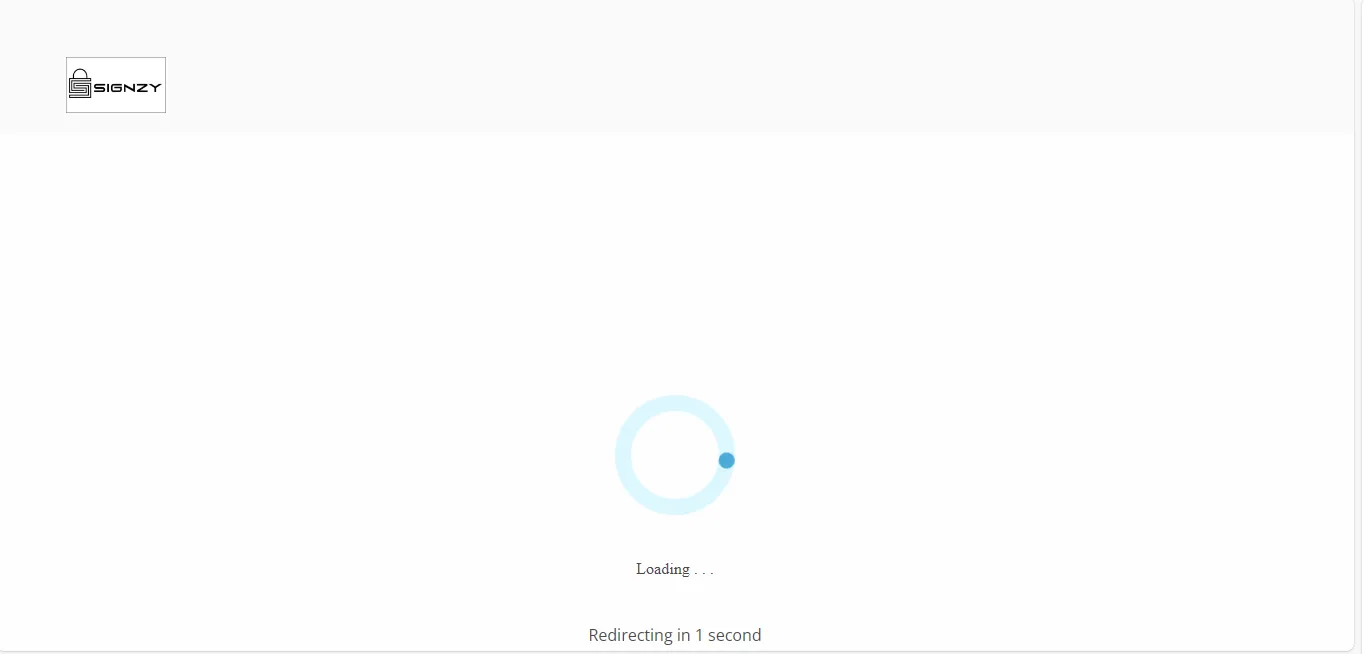
11. Loader State: Your end customers will encounter the 'Loader State'. This is an optional feature designed to enhance the user experience by providing visual feedback during data processing or loading phases.This can be modified using Create URL API.
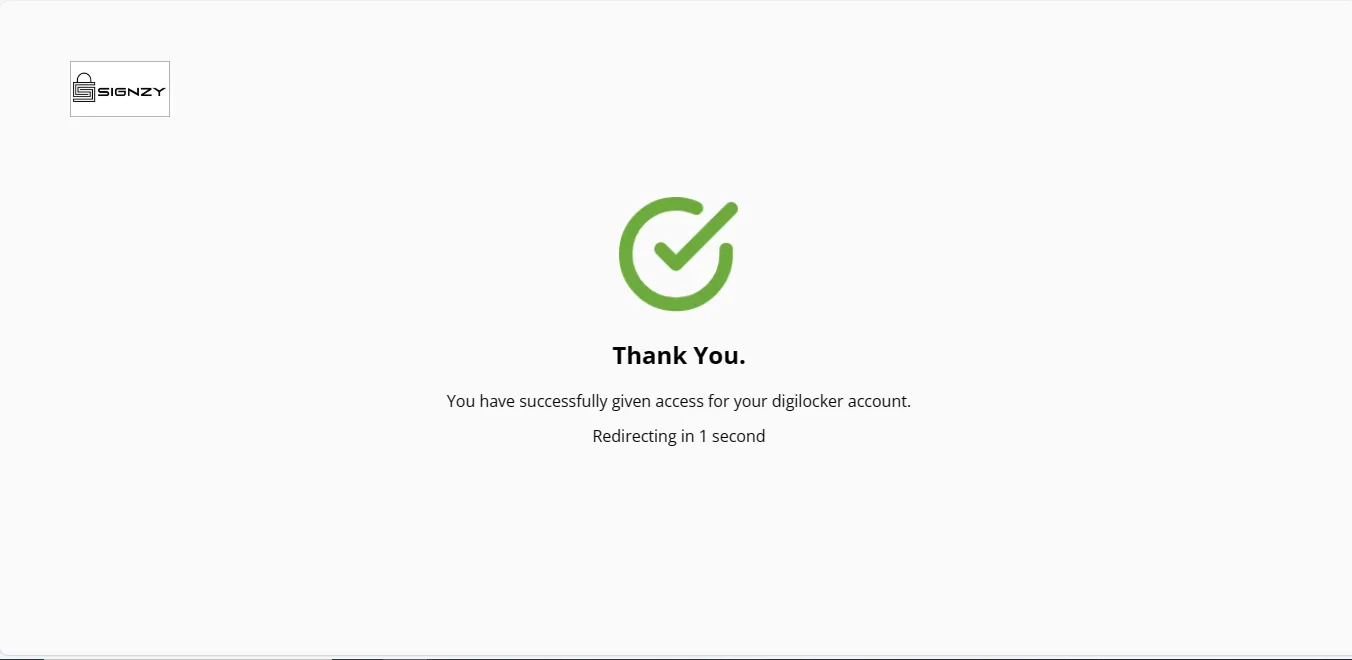
12. Completion: A page titled "Thank You" will be displayed and your end customer will be redirected to the redirect URL that you provide in Create URL API, indicating that your Request ID has been activated and is ready for use.
13. With an activated Request ID, you're free to call various APIs such as Get File, Get E-Aadhaar, Get Details, Pull Document, and Get List of Documents.
An activated Request ID has a lifespan of only 1 hour. Post that duration, you'll need to run the get URL API again to generate a new Request ID, and your end customer must follow the steps again to activate it.
If a User has entered wrong PIN more than 3 times, their account will be blocked by Digilocker for an hour.